


Set up Ms Outlook 2007 with POP3 email account
Follow the steps below to set up Microsoft Outlook 2007:
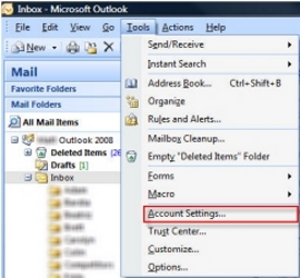
- Create a new account by selecting Tools > Account Settings.
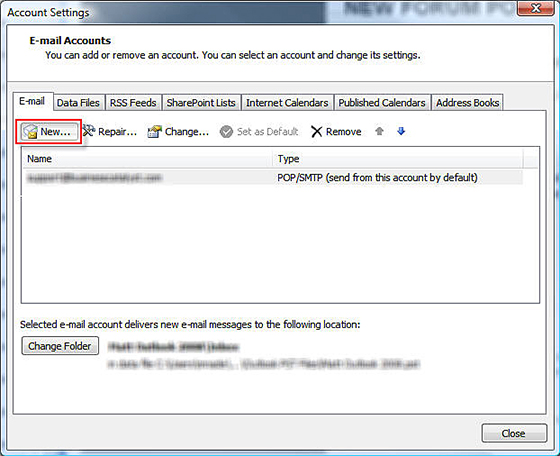
- The Account Settings window appears. Click New to add a new email account:
Select the option: Microsoft Exchange, POP3, IMAP, or HTTP and click Next.
Note: The hosted system supports POP3 email servers, and you cannot use any other protocol in the list.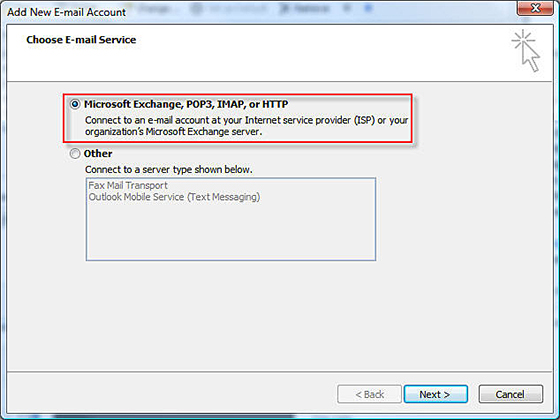
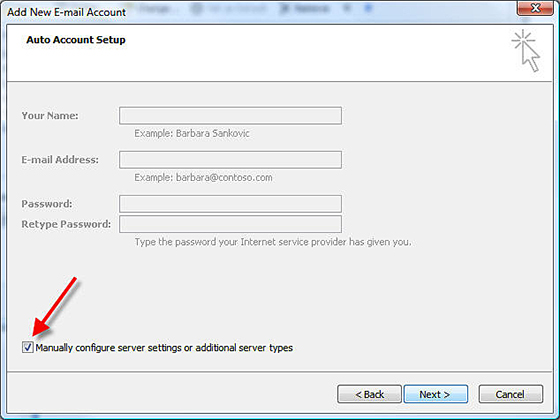
- Select the option in the bottom left corner of Manually configure server settings or additional server settings. Click Next.
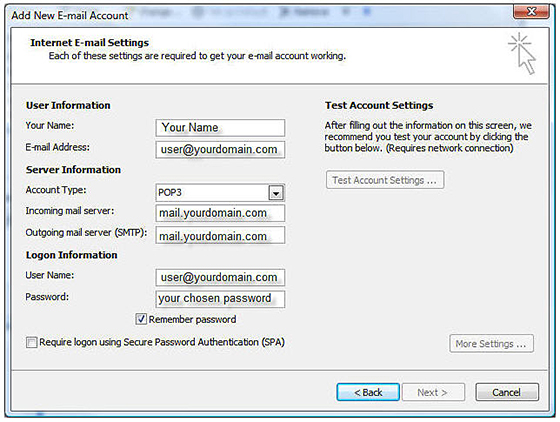
Next, fill in the account information, using the following details:
- Your Name: Enter your name -- this is the name that will be displayed to recipients of your sent messages.
- Email address : This is the POP email address, enter the same email you use for your user name when accessing the Admin Console.
- Username: Enter the same user name (email address) you used to create the account in the Admin Console.
- Password: Enter the same password you used when creating the account.
- Incoming mail server (POP3): Enter mail.my_domain_name.com (replacing my_domain_name.com with the site's domain name).
- Incoming mail server (POP3): Enter mail.my_domain_name.com (replacing my_domain_name.com with the site's domain name).
- SMTP or sending server: Try entering mail.my_domain_name.com (replacing my_domain_name.com with the site's domain name).
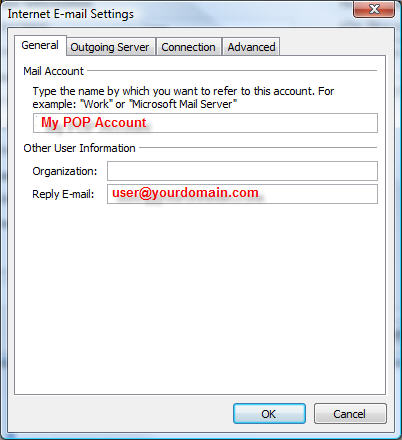
- Click More Settings. In the General tab, enter your name and a reply email address. Usually, this is the same as your email address.
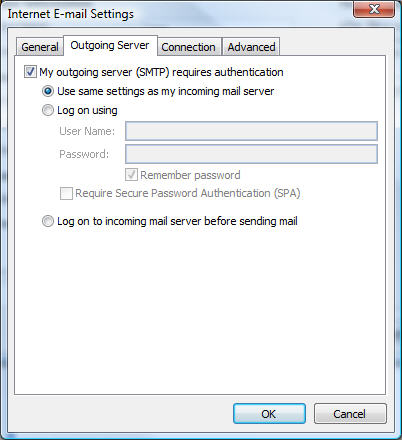
- Click the Outgoing Server tab. If you are using this service's server for sending email, select the option: My outgoing server (SMTP) requires authentication.
If you are using, your Internet Service Provider's SMTP server, it is likely you will not need to enable this option, but check with them to verify the settings to use.
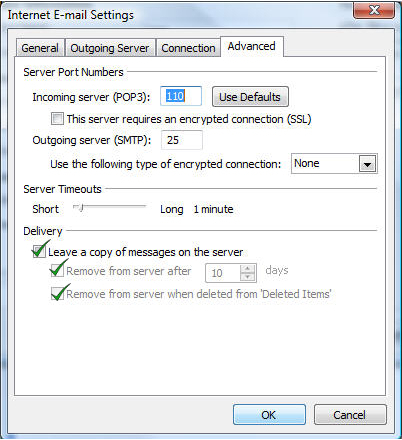
- Click the Advanced tab. Verify that the port numbers are set to 110 and 25. Make sure the other options are not selected.
Click OK and then click Finish.
- Test the new email account to verify that you can send and receive mail, by clicking Send/Receive.